Introduction
How to install electric water heater? Installing your own electric water heater can be a rewarding project. It not only saves you from hefty service charges but also equips you with essential home maintenance skills. In this concise guide, we outline how to install an electric water heater. We’ll cover the tools you’ll need, safety precautions to take, and each step from preparation to the final settings.
Whether you’re replacing an old heater or setting up a new unit, these steps are crucial. Proper installation ensures efficient operation and helps prevent future issues. So, gather your tools, roll up your sleeves, and let’s dive into the step-by-step process of electric water heater installation.
Preparing for Installation
Before starting the task of installing an electric water heater, ensure you have the right tools and materials. Here is a simple checklist to prepare you for the installation process.
Required Tools and Materials
To install your electric water heater efficiently, you will need:
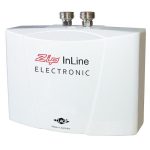
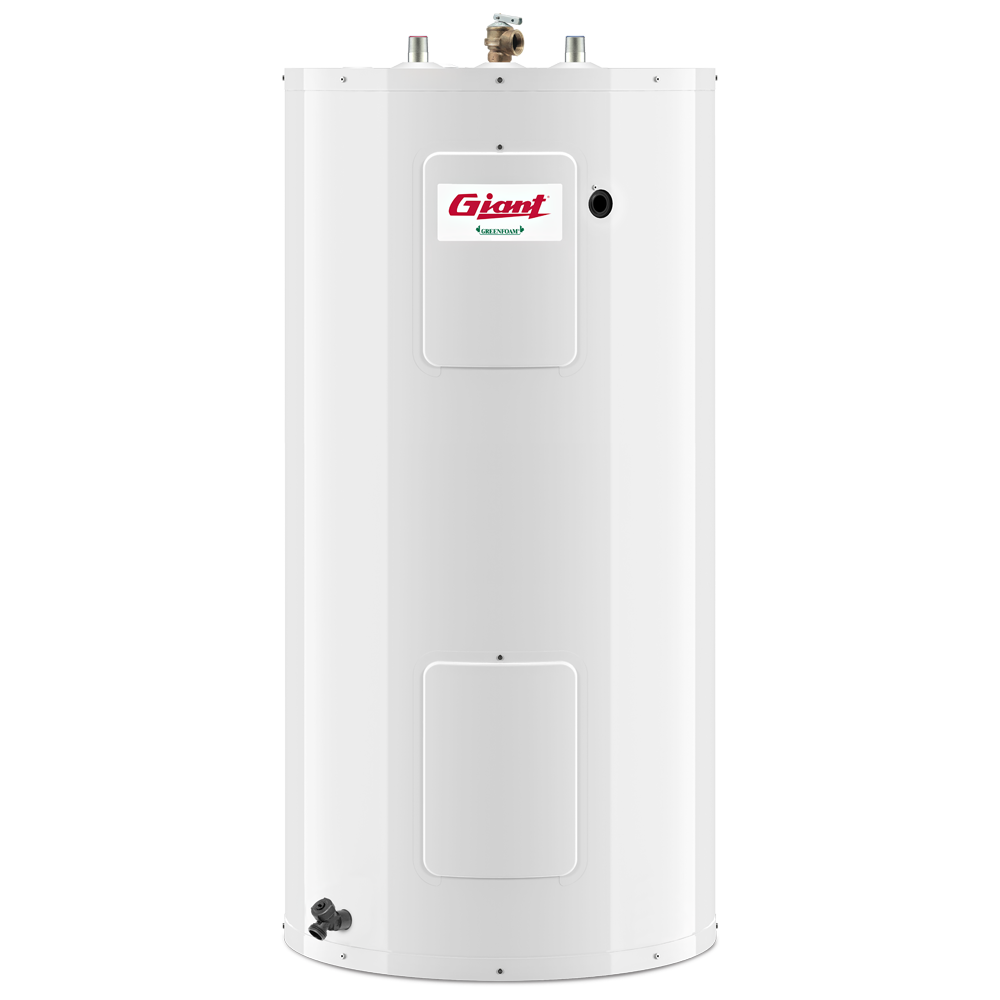
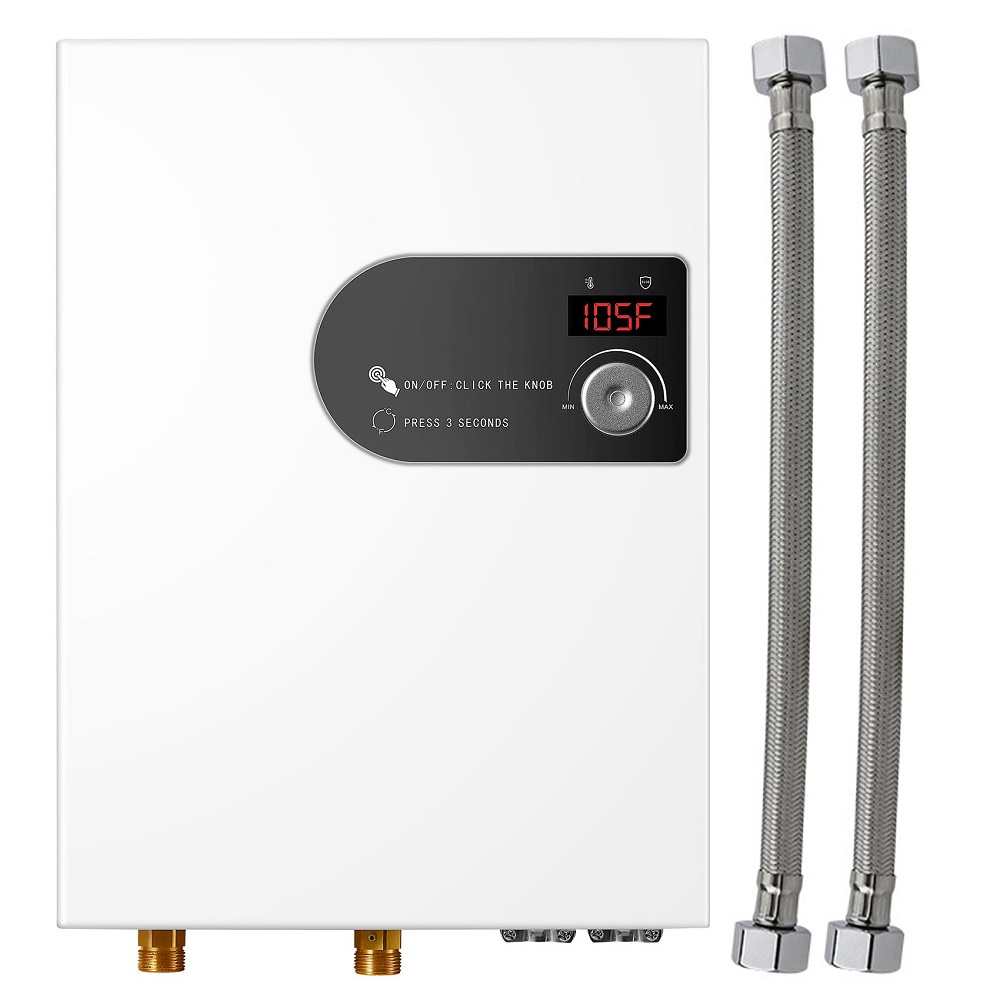
- A new electric water heater unit.
- Pipe wrench and adjustable wrench for fittings.
- Screwdrivers for securing elements.
- Pipe cutter for handling pipes.
- Teflon tape and pipe joint compound to prevent leaks.
- A voltage tester to confirm power is off.
Gather these items beforehand to avoid any interruptions during the installation.
Safety Precautions
Safety is crucial when working with electrical appliances. Follow these safety tips:
- Turn off the power at the circuit breaker before starting.
- Check the area for water to prevent electrical hazards.
- Wear safety gloves to protect your hands.
- Use goggles to shield your eyes during cutting or soldering.
- Keep a first aid kit nearby in case of minor injuries.
Adhering to these safety measures will help you install the water heater without accidents. With all tools and safety checks in place, you are ready to proceed to the next step in the installation process.
Removing the Old Water Heater
Before introducing a new electric water heater, the old one must be safely removed.
Draining the Old Unit
Begin by draining the old water heater to eliminate any remaining hot water and pressure. Turn off the power supply at the breaker, attach a hose to the drain valve, and let water flow out to a safe area.
Disconnecting the Plumbing
Once drained, use a pipe wrench to detach the cold water inlet and hot water outlet. Have a bucket ready to catch any drips.
Disposing of the Old Heater
With plumbing detached, remove the old heater. Recycle or dispose of it following local regulations, making way for the new installation.
Preparing the New Heater Installation Area
Before installing your new electric water heater, creating a proper installation space is imperative. An organized and safe area promotes efficiency and safety throughout the process.
Cleaning the Area
The first step is to clean the area where the new heater will be installed. Remove any debris, dust, or old fixtures that may interfere with the installation. This helps to avoid any obstructions and ensures easy access during the setup.
Ensuring a Level Surface
A level surface is crucial for the stable placement of your electric water heater. Use a spirit level to check the flatness of the area. If the surface is uneven, make adjustments by adding shims or leveling materials where necessary. A heater that stands on an even surface will operate more efficiently and has less risk of tipping or causing connections to stress. With the area now clean and even, you’re ready to proceed with positioning the new water heater and moving on to the plumbing connections.
Installing the New Electric Water Heater
After preparing the installation area, it’s time to install the new electric water heater. This step ensures that you have a steady supply of hot water in your home. By following the correct process, you can look forward to efficient and safe operation.
Positioning the Unit
Place the new heater in the designated spot. Make sure it’s straight, using a level if necessary. It should be firm and stable on the floor. This step is vital for the proper functioning of the water heater.
Connecting the Plumbing
With the unit in place, it’s time to connect the plumbing. Follow these simple steps:
- Use Teflon tape on the threads of the water lines to prevent leaks.
- Attach the cold water supply to the inlet and the hot water line to the outlet of the heater.
- Tighten connections with a pipe wrench, but do so gently to avoid damaging the pipes.
Correctly connecting the plumbing is crucial for preventing leaks and ensuring a reliable hot water supply. In the next steps, you’ll learn how to wire the heater and test it. Follow all guidelines and stay safe.
Wiring the Electric Water Heater
Wiring your electric water heater correctly is a critical part of the installation process. Proper electrical connections ensure safety and the efficient functioning of your water heater. Let’s look at how to wire the unit properly.
Following Manufacturer’s Guidelines
Always start by reviewing the manufacturer’s instructions provided with your electric water heater. These guidelines are specific to your model and must be followed precisely.
- Turn off the power at your main circuit breaker to ensure there is no electricity flowing to the area.
- Use a voltage tester to double-check that there is no current present before beginning work.
- Identify and prepare the wires according to the manufacturer’s color-coded diagram, so you know which wires connect where.
Following the manufacturer’s instructions helps prevent electrical mishaps and ensures that the heater functions as intended.
Securing Connections
After setting up the wires as directed, it’s time to secure them.
- Strip the ends of the wires carefully, then twist the exposed wire ends from the water heater to the corresponding house wires.
- Use wire nuts to cap each connected pair of wires securely, which helps avoid any loose connections.
- Wrap each connected pair with electrical tape for additional safety and to prevent exposure.
- Finally, tuck the wires neatly into the water heater’s junction box and replace the cover panel.
Securing all the connections tightly is non-negotiable to prevent shorts and potential fire hazards. With the wiring complete, you’re now ready to fill the water heater tank and test the system for the first time which will be explained in the following steps.

Filling and Testing the Water Heater
After wiring your electric water heater, the next step is filling it with water and checking for any leaks. This is crucial for ensuring that the system is running correctly and safely.
Checking for Leaks
Once you fill the tank, check all connections. Look for any water that might seep out of the fittings. Use your hands to feel for wetness and keep an eye out for drips. If you find a leak, you may need to tighten the connections a bit more or use more Teflon tape to seal the threads. Remember, it is important not to over-tighten, as this can damage the fittings. Checking thoroughly now can save you from water damage and costly repairs later on.
Testing the Water Temperature
With the tank full and no leaks detected, turn on the hot water tap nearest to the water heater. Let the water run until it is fully hot. This purges air from the system. Now, you can test the water temperature. It should be warm, not scalding. If it’s too hot or cold, you’ll need to adjust the thermostat settings. Be sure to refer to the manufacturer’s recommendations for safe water temperature settings. This step ensures you have a comfortable and consistent hot water supply in your home.
With these tests completed, you’re almost done. The final steps are to turn the power back on and set the thermostat to the desired temperature, which we’ll cover next.
Final Steps
After ensuring that your electric water heater is properly installed, plumbed, and wired, you are now ready to perform the final steps to begin enjoying the comfort of hot water.
Turning on the Power
To activate your electric water heater, return to your home’s circuit breaker. Locate the switch that controls the water heater’s power and carefully flip it on. It is critical to ensure that the tank is completely filled with water before turning on the power to avoid damaging the heating elements.
Once you have turned on the power, listen for any unusual noises. If everything sounds normal, the electricity is properly connected and the heating process has begun.
Setting the Thermostat
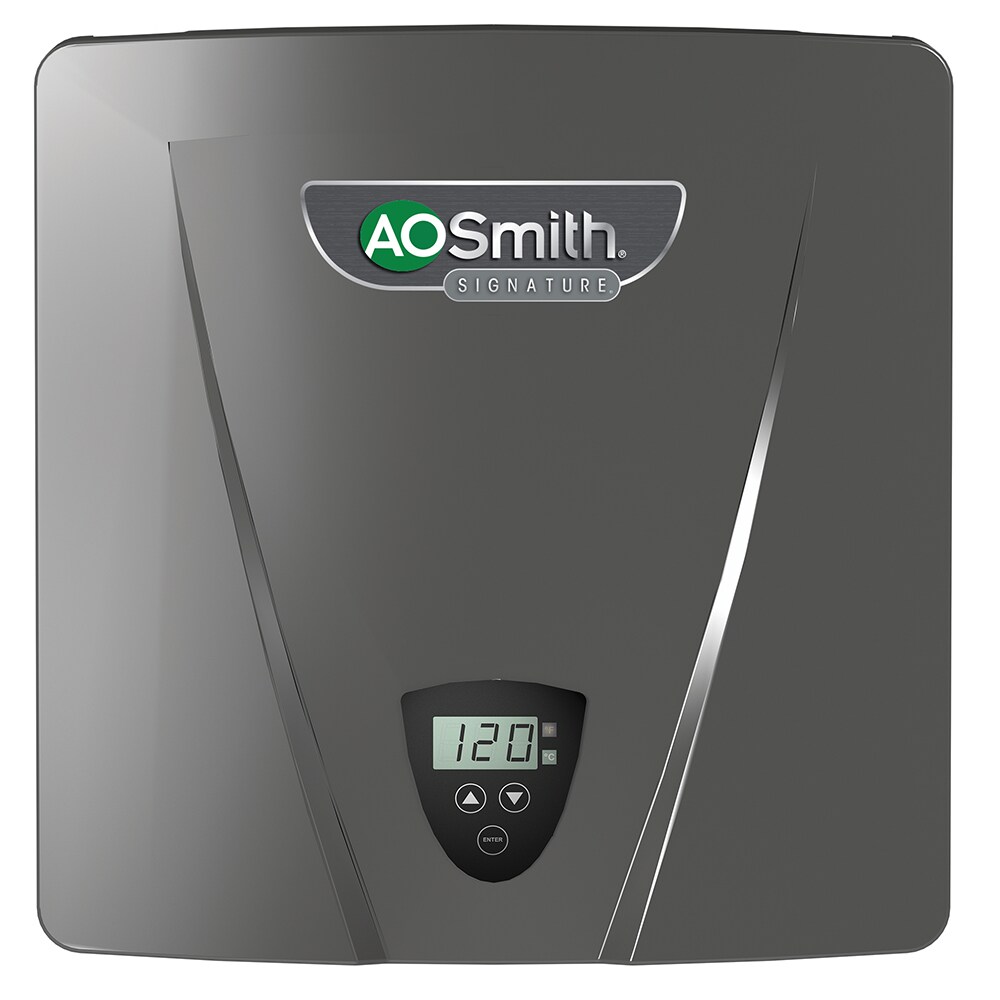
The final adjustment you’ll need to make is setting the desired water temperature on the thermostat. Most manufacturers recommend a default setting of 120 degrees Fahrenheit as this temperature reduces the risk of scalding and is energy-efficient.
Locate the access panel on the water heater and use a flathead screwdriver to adjust the thermostat dial to your preferred temperature setting. For households with children or elderly members, staying closer to the 120-degree mark is advisable for safety reasons.
After setting the thermostat, replace the access panel securely. Allow the water in the tank some time to heat to the set temperature, then test the hot water output at a faucet to ensure it’s working as expected.
Congratulations! You have now completed the process of how to install an electric water heater. Enjoy the benefits of your labor with a consistent and safe hot water supply in your home. Remember to periodically check your installation for any maintenance needs to keep it running smoothly.
Conclusion
Successfully completing the installation of an electric water heater can bring great satisfaction. You’ve gained useful skills and saved on service costs. By following the nine easy steps outlined in this guide, from preparation to testing, you’ve ensured a safe and efficient installation.
It’s crucial to pay attention to each detail, whether it’s securing plumbing connections or setting the thermostat. Regular maintenance keeps your water heater performing well. Don’t forget to switch off the power before any checks or fixes if needed.
If you’ve carefully followed each step, including the essential safety precautions, your home should now have a reliably functioning water heater. Should any doubts arise during installation, consulting a professional is wise. A correctly installed water heater is key for daily comfort, providing hot water whenever needed.
Are you ready to enjoy the benefits of your hard work? With your new electric water heater installed, you can relax with the confidence that you’ve done the job right. Keep this guide handy for future reference, and be proud of your DIY achievement in your home.