Introduction to Electric Water Heater Installation
Electric water heaters are essential for comfortable living. They provide hot water for showers, dishes, and laundry. If your home needs a new one or an upgrade, learning how to install an electric water heater is a great skill. This guide will show you the simple steps to take for a safe and efficient installation.
Each stage of the setup process counts. From choosing the right tools to connecting the wires, there are key actions to follow. I will walk you through each part of the process in this step-by-step guide. With the right preparation and knowledge, installing an electric water heater can be a smooth DIY project.
This installation task can save you money on hiring a professional. Yet, make sure you’re ready for the job. It’s important to understand the needs and safety considerations before starting. With my guide and your DIY spirit, you will have hot water flowing in no time.
Keep reading to learn the tools you will need, safety tips to follow, and the steps to install your new water heater. Remember, while this guide is helpful, always check your local codes and the heater’s manual too. If in doubt, it is wise to consult or hire a pro.
Preparing for Installation
Before you embark on installing an electric water heater, proper preparation is crucial. This phase ensures a smooth and safe installation process. Here’s how to get started.
Gathering Necessary Tools & Materials
To install an electric water heater efficiently, you will need to have the right tools and materials on hand. Gather the following items before you begin:
- A new electric water heater
- Pipe wrench and adjustable wrench
- Screwdrivers
- Pipe cutter
- Pipe joint compound and Teflon tape
- A garden hose (for draining the old unit)
Make sure you have these tools ready. This ensures you can tackle each step without interruptions.
Safety Measures & Power Shutdown
Safety should be your top priority when learning how to install an electric water heater. Take these essential steps to protect yourself and your home:
- Turn off the main power supply to the water heater at the electrical panel.
- Double-check to ensure that the power is indeed off.
- Keep a fire extinguisher nearby in case of an electrical emergency.
By following these safety measures, you’ll be able to proceed with confidence. Once you are equipped with the right tools and have secured the workspace, you’re ready to move on to the next phase: removing the old water heater.
Removing the Old Water Heater
Before you can install a new electric water heater, the old one must go. This is a critical phase in the installation process. It paves the way for a fresh start with your new unit.
Draining the Old Unit
Start the removal process by draining the old water heater. First, attach a garden hose to the tank’s drain valve. Then, open the valve and let the water flow out to a suitable area. Remember, the water could be hot, so handle it with care.
Disconnecting Plumbing & Electrical Connections
Once drained, disconnect the plumbing by using a pipe wrench. Loosen the cold water inlet and hot water outlet pipes carefully. Next, safely remove the water heater’s electrical connections. Ensure the power is off during this step to prevent shock or injury. With plumbing and wiring detached, you can then safely proceed to the next steps.
Preparing the Installation Site
Setting up the area for a new electric water heater is very important. You need a clean and level space to ensure safety and proper operation.
Cleaning and Leveling the Area
Start by cleaning the space where your new heater will go. Remove any debris or old fittings. Make sure there is enough room for easy maintenance later on.
Next, check that the floor is even. Use a level for accuracy. An uneven surface can cause the water heater to be unstable. Adjust the legs or pad if needed to make it stable.
A clean, level area is key for a successful installation. With this base prepared, you’ll have a smoother setup. Now, it’s time to move on to installing your new water heater.
Installing the New Water Heater
With a clean and ready space, it’s time to bring in the new unit. Follow these key steps to position and connect your electric water heater safely.
Positioning & Securing the Unit
First, carefully position the new water heater in the prepared installation area. Ensure it stands level to avoid any tilting or instability. If needed, adjust the leveling legs or place shims underneath for a perfect fit. Stability is essential for safe operation and longevity. Once settled, use a level again to double-check.
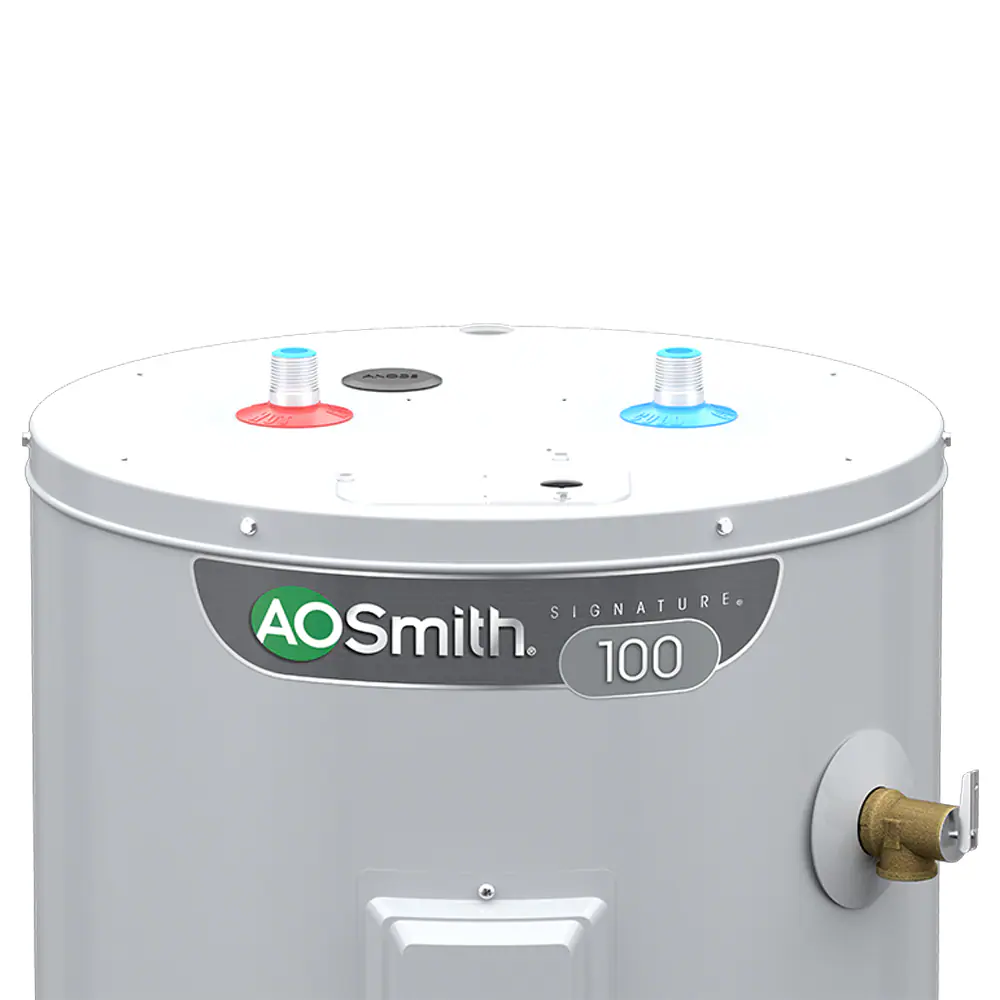
Connecting Water Inlet and Outlet
Now, focus on the connections. Start with the cold water inlet on the top of the heater. Use a pipe wrench to secure it. Then, wrap Teflon tape around the threads. Connect the hot water outlet in the same manner. Tight connections prevent leaks and ensure efficient operation. Don’t forget the pipe joint compound for a solid seal. After these steps, your new electric water heater is set in place and ready for the next stage: wiring the unit.
Electrical Setup for the Water Heater
Correct wiring is crucial for the heater to work safely and efficiently.
Understanding the Wiring Diagram
Before attaching any wires, it’s important to understand the wiring diagram. The diagram shows where each wire goes. It’s provided by the manufacturer. It uses color codes and symbols. Follow it closely to avoid mistakes.
First, locate the diagram on the water heater or manual. Identify each wire’s color and connection point. The diagram often includes the red wire for live, black for neutral, and green or bare copper for ground. If confused, get help from an electrician. Safety first!
Making Electrical Connections
When making electrical connections, turn off the power at the circuit breaker. Double-check it’s off with a voltage tester. Strip the wires as needed, then match the wire colors as the diagram shows. Connect them carefully to the water heater’s terminals.
Use wire nuts to join wires securely. After connecting, cover them with electrical tape. This prevents contact and sparks. Tuck the wires neatly into the unit. Re-check all connections are tight and correct. This step is simple, but don’t rush. Accurate connections keep you safe and ensure the heater works right.
Filling & Testing the New Water Heater
Once your electric water heater is in place, it’s vital to fill and test it before use.
Filling the Tank and Releasing Air
Start by opening the cold water supply valve to allow the tank to fill. As water flows in, open a hot water tap somewhere in your house. This helps release trapped air in the system. You will hear a hissing sound as the air escapes. When a steady flow of water comes from the tap, the tank is full.
Keep an eye on the water level. Do not power on the heater until the tank is completely full to prevent damage.
Checking for Leaks
With the tank full, inspect all connections. Look for any water that might be seeping out. If you find a leak, shut off the water supply. Tighten the connections where necessary using your wrench. Apply more Teflon tape or pipe joint compound if needed.
Check every point, including the inlet, outlet, and T&P valve. No leak, however small, should be ignored. Even a tiny drip can lead to bigger problems later. Once you are sure there are no leaks, you can move on.
By carefully following these steps to test your new electric water heater, you will ensure it is ready for use. This process confirms that the installation is correct and safe. Next, we’ll go over how to finalize the installation and start enjoying hot water in your home.
Finalizing the Installation
After installing the new electric water heater and checking for leaks, it’s time to finalize the setup. This involves adjusting the temperature settings and restoring power to the heater. These last steps are crucial to make sure your water heater functions well and safely.
Adjusting the Temperature Settings
Most water heaters have a thermostat to control temperature. Here’s how to adjust it:
- Locate the thermostat dial on the water heater.
- Using a screwdriver, turn the dial to set your desired temperature.
- The recommended setting for most households is around 120°F.
Be cautious when choosing the temperature, as too high can cause scalds.
Restoring Power & Inspecting
Once the temperature is set, you can restore power:
- Go to your electrical panel.
- Turn on the circuit breaker for the water heater.
Check the heater after turning the power on to see if it’s working:
- Listen for a noise indicating the heater is on.
- Check for hot water at a faucet after a little while.
Make a final review of the area to ensure everything is clean and organized.
By taking these steps, you’ll have a safely installed electric water heater. Always be cautious and consult a professional if you’re unsure at any stage.
Conclusion
After carefully following the step-by-step guide on how to install an electric water heater, you should now have a fully operational unit. This DIY project requires careful attention to detail and adherence to safety protocols, but the reward is a steady supply of hot water for your household needs.
Recap & Safety Reminders
Let’s recap the critical steps in installing your electric water heater:
- Prepare your tools and workspace, ensuring you have everything you need within easy reach.
- Prioritize safety by shutting down the power and double-checking it’s off.
- Remove the old unit, taking care to drain it properly and disconnect it safely.
- Prepare the installation site, ensuring it’s clean and level for the new heater.
- Position the new water heater, making sure it’s secure and stable.
- Connect the plumbing and check for leaks to avoid future issues.
- Set up the electrical wiring following the manufacturer’s instructions closely.
- Fill the tank with water, release any trapped air, and inspect once again for leaks.
- Finally, adjust the temperature to a safe level, restore power, and ensure everything is working correctly.
Remember, safety comes first at every step of the installation. Always ensure the power is off before working on the unit and consult the manual or a professional if you have any doubts. Regular maintenance will also help to prolong the life of your water heater and keep it running efficiently.
By taking on this project, you’ve not only added a valuable skill to your DIY repertoire but also potentially saved on installation costs. With the right approach and a cautious mindset, you can enjoy the benefits of your new electric water heater for years to come.